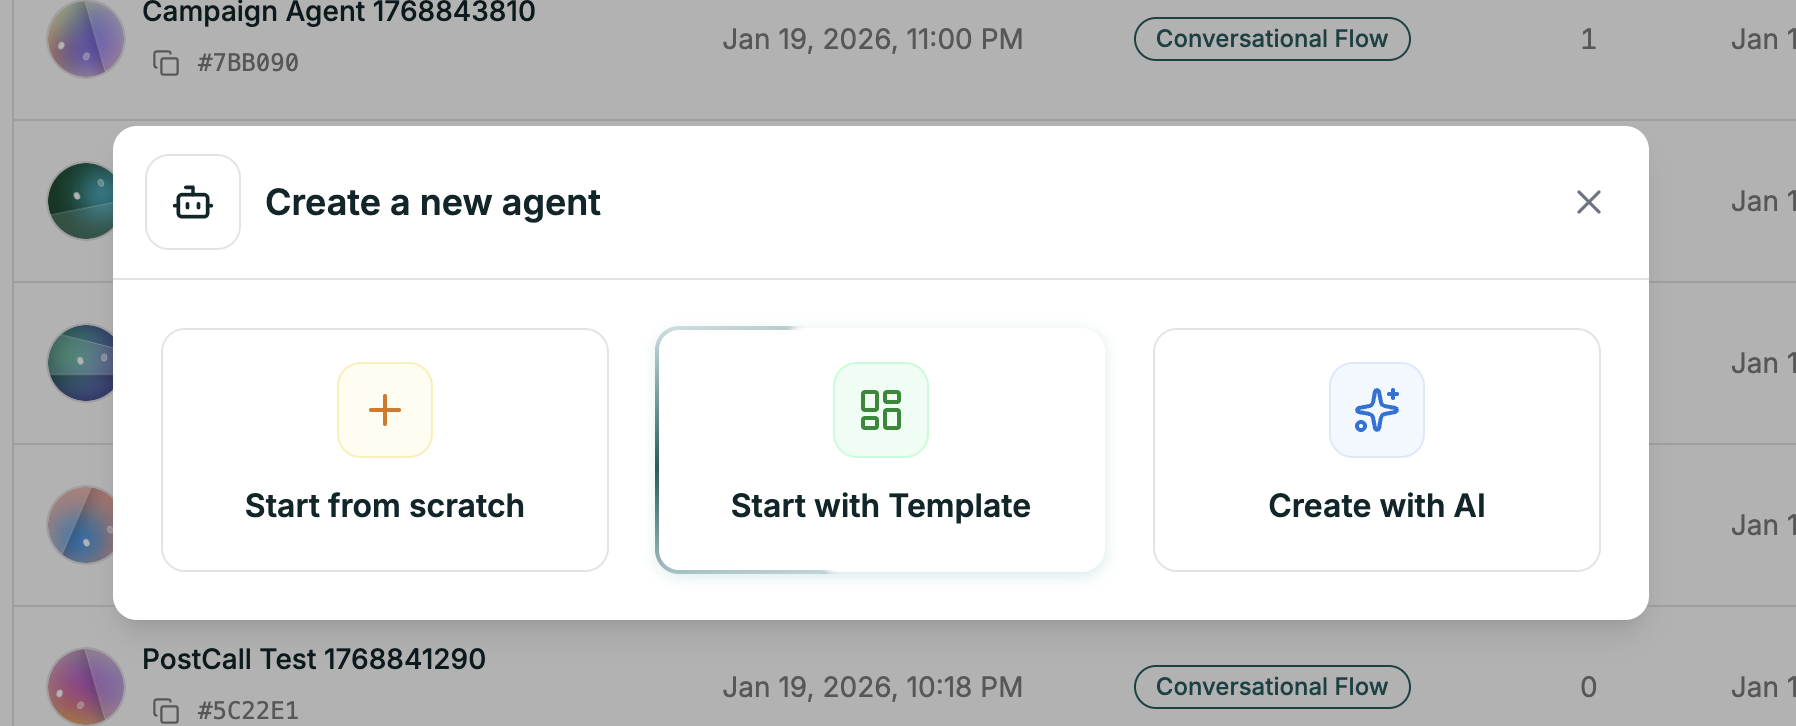
Getting There
The editor opens with everything pre-filled — prompt, voice, and structure ready to customize.

What Templates Include
Each template comes with a complete starting point:| Component | What You Get |
|---|---|
| Structured Prompt | Role, objectives, conversational flow, guidelines — all laid out in markdown sections |
| Voice Selection | A voice that fits the use case |
| Common Scenarios | Examples of conversations the agent should handle |
| Best Practices | Tips specific to that industry or use case |
Customizing Your Template
Templates are starting points. Always replace the placeholders with your specifics:- Company name and details — Replace
[Company]with your actual business - Policies and rules — Update return windows, hours, pricing, etc.
- Tone adjustments — Match the personality to your brand
What’s Next
Prompt Editor
Understand the editor and markdown sections
Test Your Agent
Validate before deploying