Local-first development: Run and test your agent entirely on your machine. Deploy only when you’re satisfied.
Installation
The CLI comes bundled with the SDK:Local Development Workflow
The CLI’s best feature is instant local testing. No need to deploy to test changes.Start Your Agent Server
Run your agent file to start a local WebSocket server:This spins up a server on
localhost:8080 that mimics the production environment.Connect via CLI
In another terminal, start an interactive voice session:The CLI connects to your local server and lets you converse with your agent in real-time.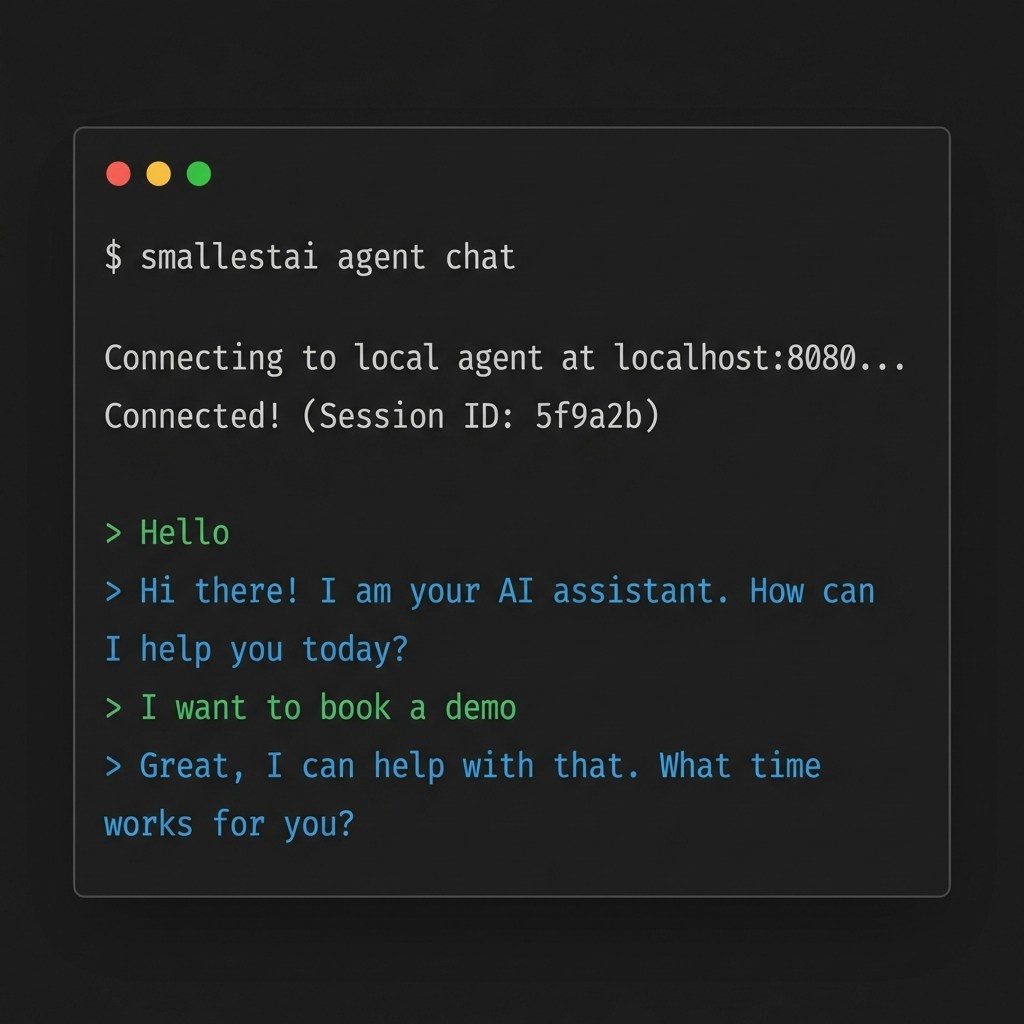
Cloud Deployment
When you’re ready for production, deploy to Smallest AI’s managed infrastructure.Link to Platform Agent
Command Reference
Authentication
| Command | Description |
|---|---|
smallestai auth login | Authenticate with your Smallest AI account |
smallestai auth logout | Clear stored credentials |
Agent Management
| Command | Description |
|---|---|
smallestai agent init | Link local directory to a platform agent |
smallestai agent deploy | Deploy code to the cloud |
smallestai agent builds | View and manage deployments |
smallestai agent chat | Start interactive session with local agent |
Common Options
| Option | Description |
|---|---|
--entry-point <file> | Specify the main Python file (default: server.py) |
--help | Show help for any command |
Build Management
Deployments are not live by default. This gives you a safety buffer. To promote a build:- Run
smallestai agent builds - Select the desired build
- Choose Make Live
- Run
smallestai agent builds - Select the previous build
- Choose Make Live
- Run
smallestai agent builds - Select the LIVE build
- Choose Take Down